Setting Up OBS
The OBS Window
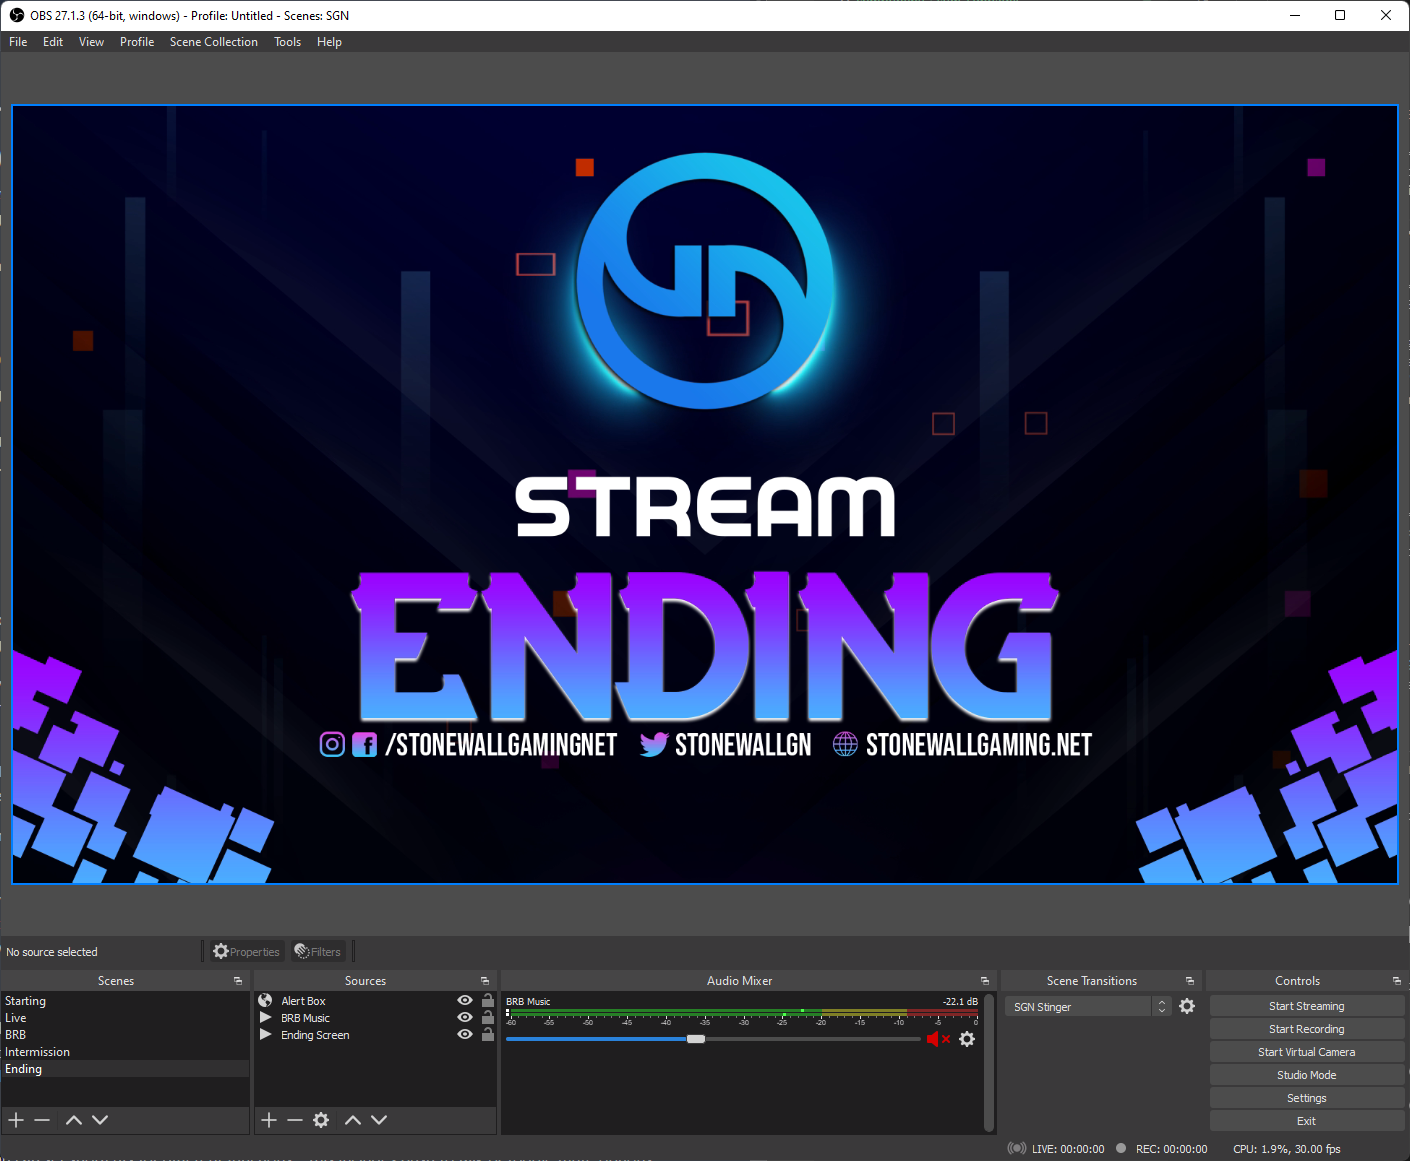
On launching the software for the first time, OBS will prompt you for some information to start its setup, however we will be tweaking things manually so press cancel. You will now see the main OBS screen. It has the canvas in the main section (where you will place stream elements that viewers will see). At the bottom it then has a scene list, source list, audio mixer, scene transitions and some controls. We’ll go over these soon.
Settings
Stream Settings
This is where you input your stream key.
Output Settings
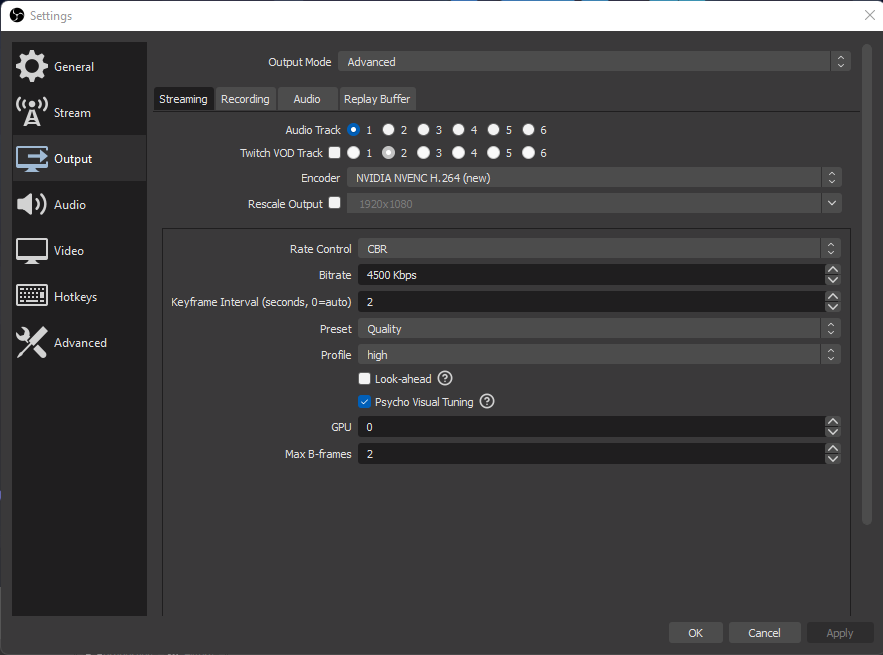
Output settings should be set to advanced, you'll find the right settings later.
Video Settings
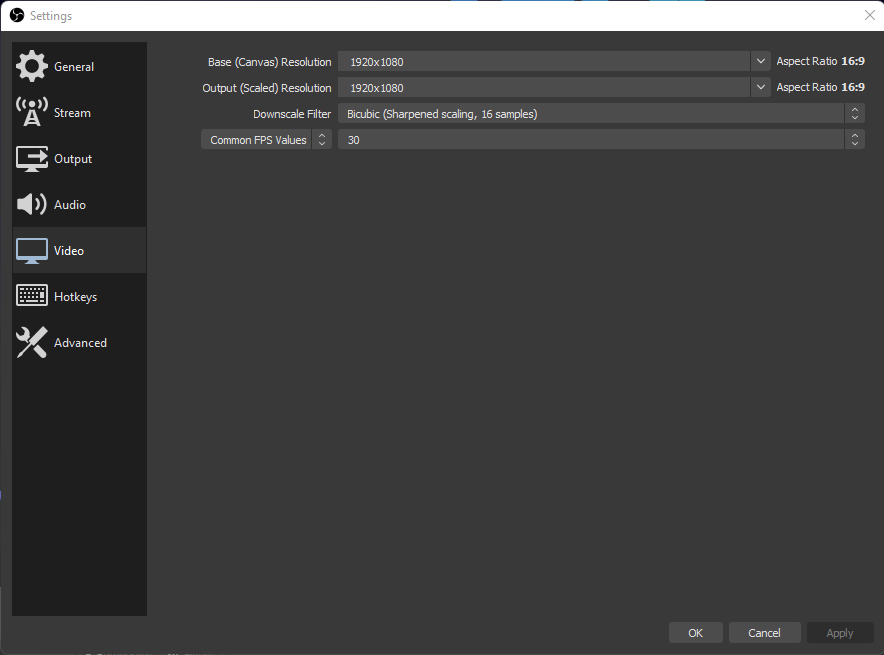
In video settings, you set your output resolution and frame rate.
Audio Settings
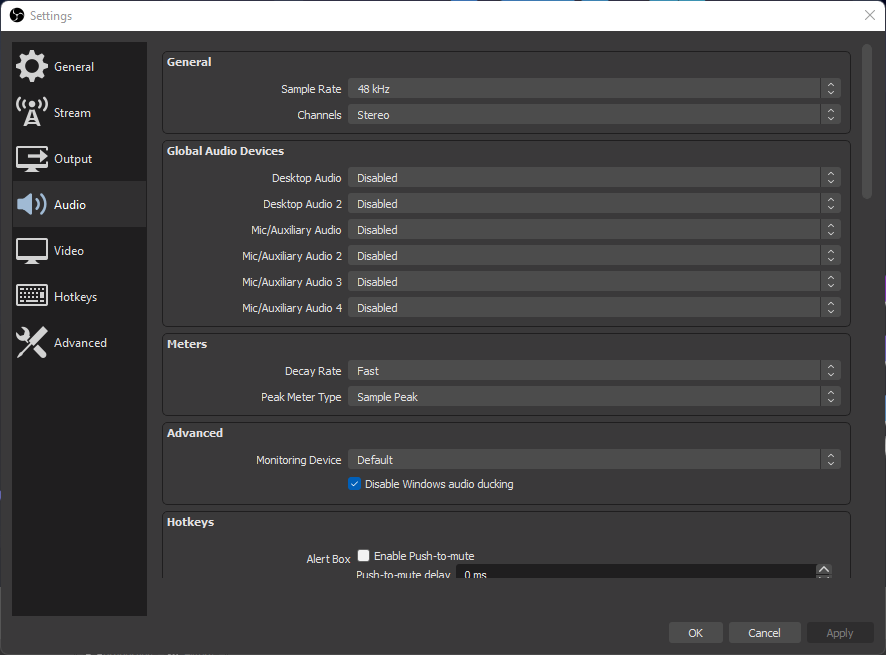
In audio settings, you should disable all of the devices. We'll enable them later.
Stream Account
For now, press settings in the controls section. The first section to go to is the “Stream” tab. This should usually be already set to Twitch, but if not change the dropdown to Twitch. Then press “Use Stream Key”. This is where you will paste the stream key that you will have been given by an officer for streaming to the channel. If you don’t have this yet, just skip this step.
Video
At this point, you will need to choose whether you would like to stream in 720p or 1080p, and whether this will be at 30 frames per second or 60. This is dependent on your graphics card, processor, and internet speed amongst other things. I can’t tell you what to stream at, it’s up to you to think about your computer’s capabilities. It can also be done through trial and error, by streaming, and then watching your stream back to see if there were issues with it missing frames, going blurry etc.
Having decided this, we need to go to the Output tab. Set this to advanced mode. Next, go to the Twitch bitrate recommendations and find the quality and frame rate you decided on.
You now also need to decide on what encoder to use. If you have a graphics card that you think is quite capable, we will be looking at NVIDIA NVENC encoder. If you think your graphics card won’t be able to handle streaming as well as your gameplay, then use x264. This encoding uses your processor instead of your graphics card.
Having found the right settings on the Twitch website, we now need to put these into the fields in your settings page in OBS.
Skip the Audio tab for now and go to Video. Set the base canvas resolution to 1920x1080 (if not already), and then set the output resolution to the resolution you decided you want to stream in. Change the common FPS value to 30 or 60, depending on what you decided earlier.
Audio
Now, it’s time to head to the Audio tab. We don’t have much to change here, except you should make sure all devices in “Global Audio Devices” are set to disabled. Don’t worry, we’ll be adding your audio devices later when we set up the stream itself.
Hotkeys
In the Hotkeys tab, you can set shortcuts for different functions – this includes push to talk or toggle mute options for your audio sources. I would wait until after setting up your full stream before setting these up as your audio sources won't appear in the hotkeys options until we add them later.